Rain-X Pro Graphene Headlight Restoration Kit
Modern vehicle headlights are manufactured from polycarbonate plastic, a lightweight and impact-resistant material engineered to withstand road debris. However, prolonged exposure to solar ultraviolet (UV) radiation, atmospheric heat, and environmental contaminants inevitably causes the factory protective clear coat to oxidize. This breakdown results in cloudy, yellowed lenses that dramatically degrade nighttime visibility and vehicle aesthetics. The Rain-X Pro Graphene Headlight Restoration Kit (marketed as the Rain-X Pro Quick & Easy Headlight Restorer Kit) tackles this issue through a two-step process that cleans surface oxidation and seals the lens with a protective graphene-infused coating.
Unlike traditional DIY restoration kits that demand aggressive multi-stage wet sanding with power drills, this kit utilizes a micro-abrasive polishing compound paired with a wipe-on graphene sealant, allowing vehicle owners to restore optical clarity by hand in about 15 minutes.
Overview and Package Contents
The Rain-X Pro Graphene Headlight Restoration Kit (Item #610200) is packaged with all the dedicated chemical agents and manual application tools required to treat up to two full vehicles (four individual headlight assemblies). The formulation avoids multi-grit abrasive discs in favor of a specialized chemical polish and a liquid graphene topcoat.
- 1 × 1.85 fl oz (55 ml) Step #1 Rain-X Pro Headlight Polish: A specialized micro-abrasive compound formulated to break down and lift yellowed, surface-level oxidized polycarbonate without deep gouging.
- 1 × 1.85 fl oz (55 ml) Step #2 Rain-X Pro Headlight Sealant with Graphene Shield: A protective liquid sealant infused with graphene nanoparticles designed to bond to the polished lens, creating a hard, hydrophobic, and UV-resistant barrier.
- 1 × High-Density Foam Applicator Pad: Designed specifically for working the Step #1 polish into the lens surface under moderate hand pressure.
- 1 × Premium Microfiber Cloth: Used for leveling, buffing away polishing residue, and applying the final liquid sealant.
- 1 × Pair of Nitrile Gloves: Included for skin protection during chemical handling and application.
Step-by-Step Application Instructions
Proper surface preparation and technique determine the clarity and longevity of the finished restoration. Follow these sequential steps for optimal results on oxidized polycarbonate lenses.
1. Surface Cleaning and Prep
Wash both headlight assemblies thoroughly with automotive shampoo or an isopropyl alcohol-based glass cleaner to remove road grime, grease, and bug residue. Dry the lenses completely with a clean towel. Ensure the vehicle is parked in a shaded, well-ventilated area away from direct sunlight, and verify that the lenses are cool to the touch.
2. Step 1: Polish and Oxidation Removal
Shake the Step #1 Headlight Polish bottle vigorously before use.
- Apply a quarter-sized amount of polish directly to the included high-density foam applicator pad.
- Dab the polish across the surface of the headlight lens to distribute the compound evenly.
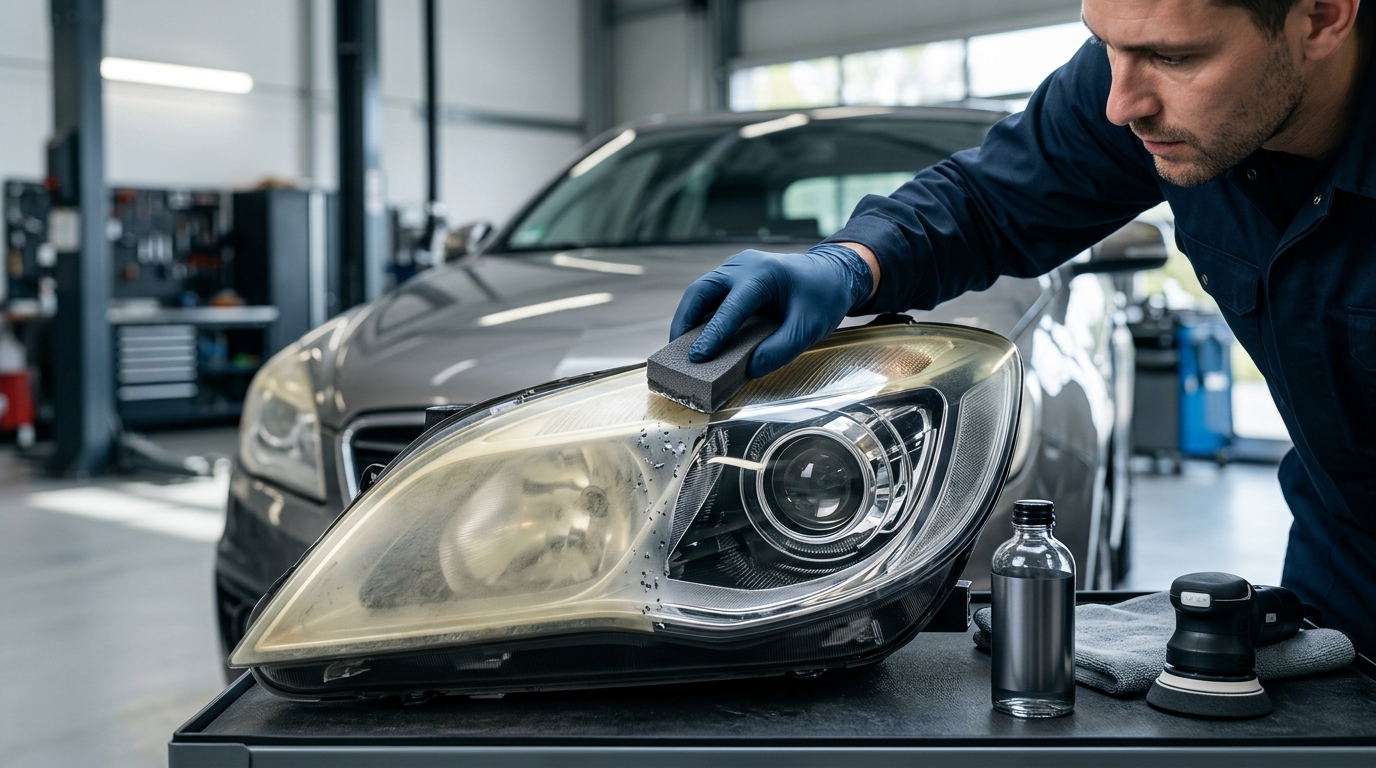
- Scrub the polycarbonate firmly using tight, overlapping circular motions. Apply steady, moderate hand pressure, spending extra time on areas with severe yellowing or hazy patches.
- Wipe away the resulting slurry and compound residue using a clean, damp microfiber cloth.
- Inspect the lens. If cloudy patches or yellowing remain, repeat the polishing process one to two additional times until the polycarbonate appears uniformly clear.
3. Step 2: Applying the Graphene Shield Sealant
Once the lens is fully polished and dry, prepare the protective barrier.
- Shake the Step #2 Graphene Sealant bottle thoroughly.
- Fold the included microfiber cloth into quarters to create a flat, controlled application surface.
- Dispense a quarter-sized pool of sealant directly onto the microfiber cloth.
- Starting at the top edge of the headlight, wipe the sealant across the lens in smooth, continuous horizontal passes, working your way downward. Overlap each stroke slightly to ensure complete, uniform coverage.
- Do not scrub or buff back and forth once applied, as the liquid will begin to flash and level into a smooth, thin optical layer.
4. Curing Protocol
Allow the applied sealant to dry undisturbed for at least 1 hour before touching the lens. For full cross-linking and maximum durability, keep the headlights completely dry and shielded from rain, condensation, road spray, and car washes for a minimum of 8 hours.
The Role of Graphene in Lens Protection
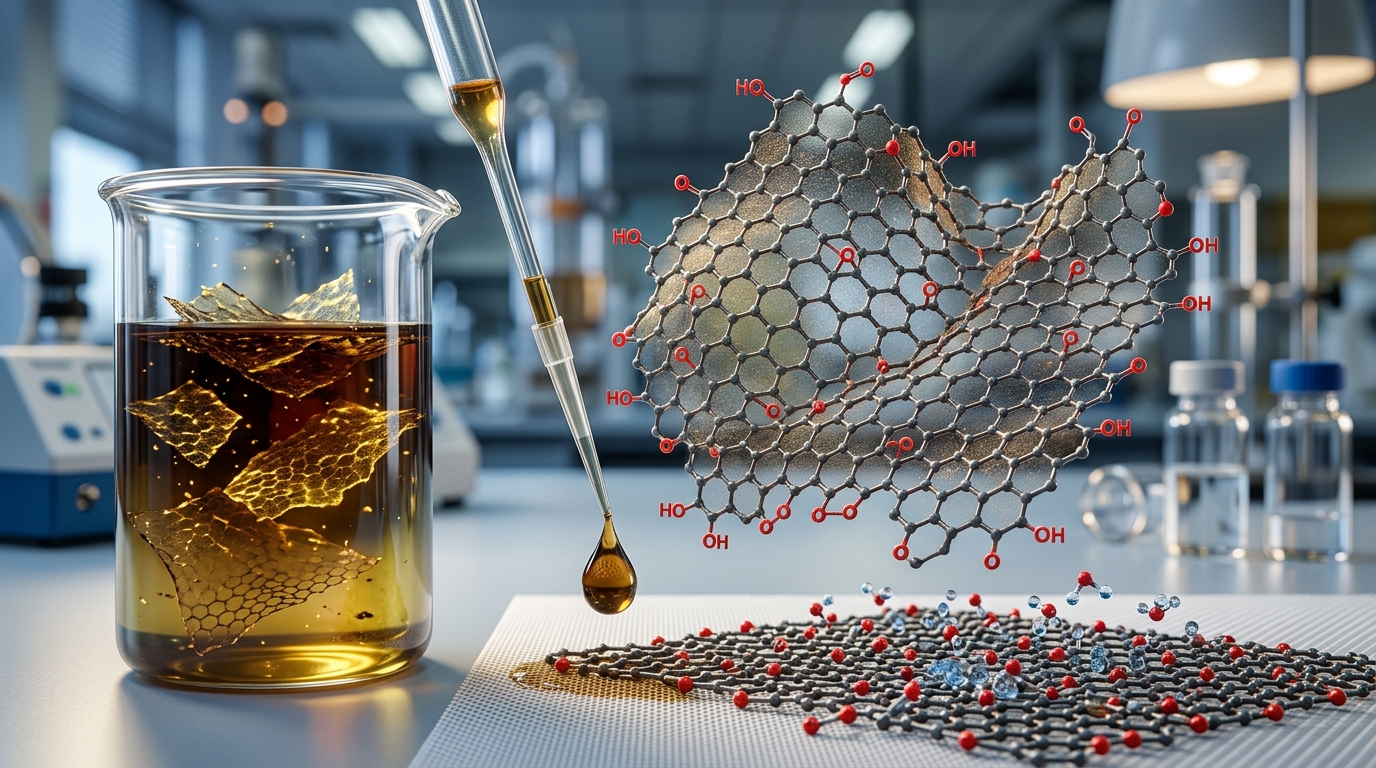
Polycarbonate degrades primarily through photo-thermal oxidation. When solar UV-A and UV-B photons penetrate unprotected polycarbonate, they break the polymer backbone, causing cross-linking failure, light scattering, and yellow discoloration. In the Rain-X Pro system, the Step #2 sealant uses graphene nanoparticles suspended in a polymer matrix to combat this degradation through several distinct mechanisms:
- UV Radiation Shielding: Graphene acts as a physical and nanoscale barrier, absorbing and dispersing harmful ultraviolet wavelengths before they can reach and damage the underlying polycarbonate structure.
- Enhanced Hydrophobicity and Chemical Inertness: Graphene imparts a high water contact angle to the lens surface. This extreme hydrophobicity forces water to bead tightly and roll off, carrying away dirt while preventing mineral deposits, acid rain, and road salt from etching the plastic.
- Thermal Stability: Operating temperatures from high-output halogen, HID, or LED bulbs generate localized heat that can accelerate coating failure. Graphene provides thermal distribution properties and high chemical stability, preventing the sealant from breaking down under repeated thermal cycling.
- Extended Longevity: The manufacturer rates this graphene protective barrier for 24+ months of clarity retention under typical driving conditions when applied as directed.
Durability and Performance Comparison
Understanding where the Rain-X Pro Graphene Restoration Kit fits in the broader automotive detailing landscape helps set realistic performance expectations. The table below compares the kit against traditional ceramic wipe-on kits and permanent 2K urethane clear coat sprays.
| Performance Attribute | Rain-X Pro Graphene Kit | Ceramic Restoration Kits | 2K Urethane Clear Coat |
|---|---|---|---|
| Protective Chemistry | Graphene-infused polymer film | Inorganic $ ext{SiO}_2$ / Polysilazane | Two-component catalyzed polyurethane |
| Manufacturer Longevity Claim | 24+ Months | 12 Months to Lifetime | 3 to 7 Years (OEM equivalent) |
| Application Complexity | Low (15 min, manual hand polishing) | Moderate (hand sanding + wipe) | High (heavy sanding, masking, respirator needed) |
| Ideal Severity Range | Light to moderate hazing/yellowing | Moderate oxidation & micro-pitting | Severe clear coat failure & deep cracking |
| Film Thickness | Nano-layer (<1 µm) | Nano-layer (1–2 µm) | High-build layer (25–50 µm) |
| Primary Failure Mode | Gradual loss of hydrophobicity | Patchy thinning / clear loss | Delamination if surface prep lacks mechanical tooth |
Practical Tips for Best Results
While the kit is engineered for quick and straightforward DIY application, following practical detailing best practices will maximize both visual clarity and protective life.
- Mask Surrounding Body Panels: Although the chemical polish is less abrasive than sanding discs, accidentally scrubbing adjacent automotive paint, chrome trim, or rubber gaskets can cause micro-marring. Apply 1.5-inch to 2-inch automotive masking tape around the entire perimeter of each headlight housing prior to starting Step 1.
- Addressing Severe Oxidation: Because this kit relies on a liquid chemical polish rather than coarse sandpaper, heavily neglected lenses with peeling factory clear coats or deep pitting may not fully clear up with the foam pad alone. In these severe cases, lightly wet-sanding the lens with 1500 to 2500 grit wet sandpaper prior to applying the Step #1 polish will establish a uniform, defect-free base.
- Avoid Overworking Step 2: When wiping on the graphene sealant, use steady, single-direction passes. Scrubbing or rubbing the cloth back and forth as the coating begins to cure can cause streaking and uneven optical distortion.
- Temperature and Humidity Controls: Apply the kit within an ambient temperature range of 55°F to 85°F (13°C to 29°C). High humidity or cold environments can prolong curing times, requiring additional time before exposing the vehicle to moisture.
Maintenance and Long-Term Value
Professional headlight restorations typically cost between $100 and $200 per vehicle. Because the Rain-X Pro Graphene Headlight Restoration Kit provides enough chemical volume to restore four headlight assemblies, it offers a cost-effective alternative for DIY enthusiasts looking to restore clarity on multiple family vehicles.
To maintain the restored finish and maximize the lifespan of the graphene barrier, wash the headlights regularly using pH-neutral car wash soap. Avoid aggressive, high-alkaline degreasers or automated brush washes that can prematurely wear down nano-coatings. Reapplying a standard spray sealant or light booster every six months over the cured graphene base will further delay re-oxidation, ensuring crisp light output and enhanced driving safety for years to come.